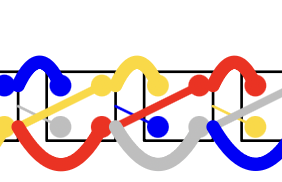
In previous installments, we learned about weaving and measured and set up the warp. This is where we left off:

The warp has been measured, attached to the loom, and split into its upper and lower layers, creating a shed. You could weave the band without the shed, by using a needle or something to go over and under each thread in sequence. You do the same two things over and over: on one row, the weft thread goes over-under-over, and on the next row it goes under-over-under. Repeat. Repeat. Repeat. You’d quickly get tired of that, or at least I would, and go looking for something to speed the process up. The answer – heddles.
There are many kinds of heddle devices, from simple rigid heddles on up to the heddles and harnesses in fancy computer-controlled looms. I’m going to stick with one of my favorites, the low-tech but infinitely adaptable string heddle. One set of strings is used to lift the “under” threads for one of the rows (the “under” threads pass over the weft, so you lift them up allowing the weft to pass under). A second set of looped string heddles is used to lift the “under” threads for the second row.
The first set is easy. Take some of your heavy utility string and tie a loop around all of the warp threads in the back upper group.

Pulling on this loop will lift all of those threads, creating one of the two sheds needed for plain weave.
Unfortunately you can’t just do the same thing for the front heddle, since that would keep the threads in the back heddle from lifting. Making a heddle that allows the warp threads to interpenetrate is a little bit fiddly, but not bad once you get the hang of it.
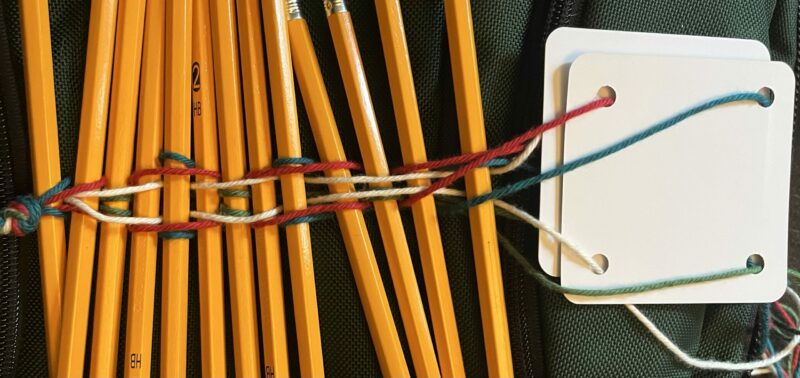
You’ll need those old familiar tools – an unsharpened pencil, and a couple yards of utility string. Tie the end of the string to one end of the pencil, then pass the string through the shed from right to left in front of the crossed warp threads.

This heddle string will end up looped around the first warp, then tied to the pencil, then around the second warp, then tied to the pencil, and so on. It’s important to leave a long loop between the pencil and each warp thread. It’s easier to weave if the loops are all similar in length. You can use a piece of cardboard or some other spacer to measure the loops. I’m just going to do them around my hand, which is close enough and requires less equipment.
The first loop will go around the rightmost warp thread. Start by pulling up a loop of the heddle string from between the rightmost warp and the one next to it. Twist the loop on itself to create something to put on the pencil. I’m using two fingers to measure the size of the loop, the distance between the warp thread and the pencil.

Put that loop over the pencil, and pull it tight around your fingers.

First heddle loop finished!

Do the same thing for each subsequent warp thread:
- pull up a loop of the heddle string on the left side of the thread
- twist the loop over itself to make a loop
- put the loop on the pencil
- pull the loop tight around your measuring device (fingers)

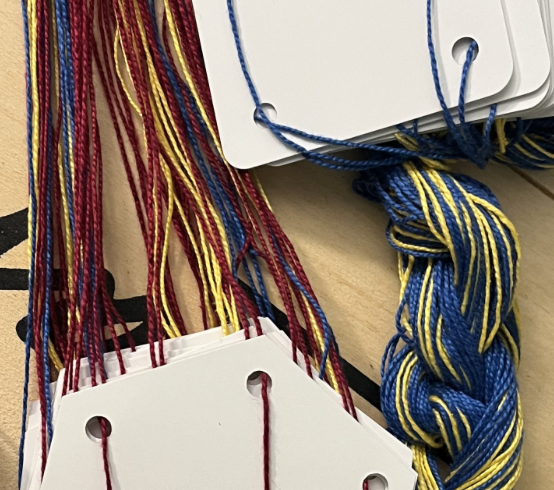
Now that your heddles are done, you can pull out the pencils holding the shed in place. Lifting one heddle will raise one set of warp threads, and raising the other one will raise the second set. Lifting them both should raise all the warp threads – otherwise you missed one. If that happens, you can just tie a new back heddle (the single loop) that includes the extra thread. If you missed one from the front heddle, the easiest thing to do is take an extra piece of utility thread and tie that missing warp to its proper place on the pencil.

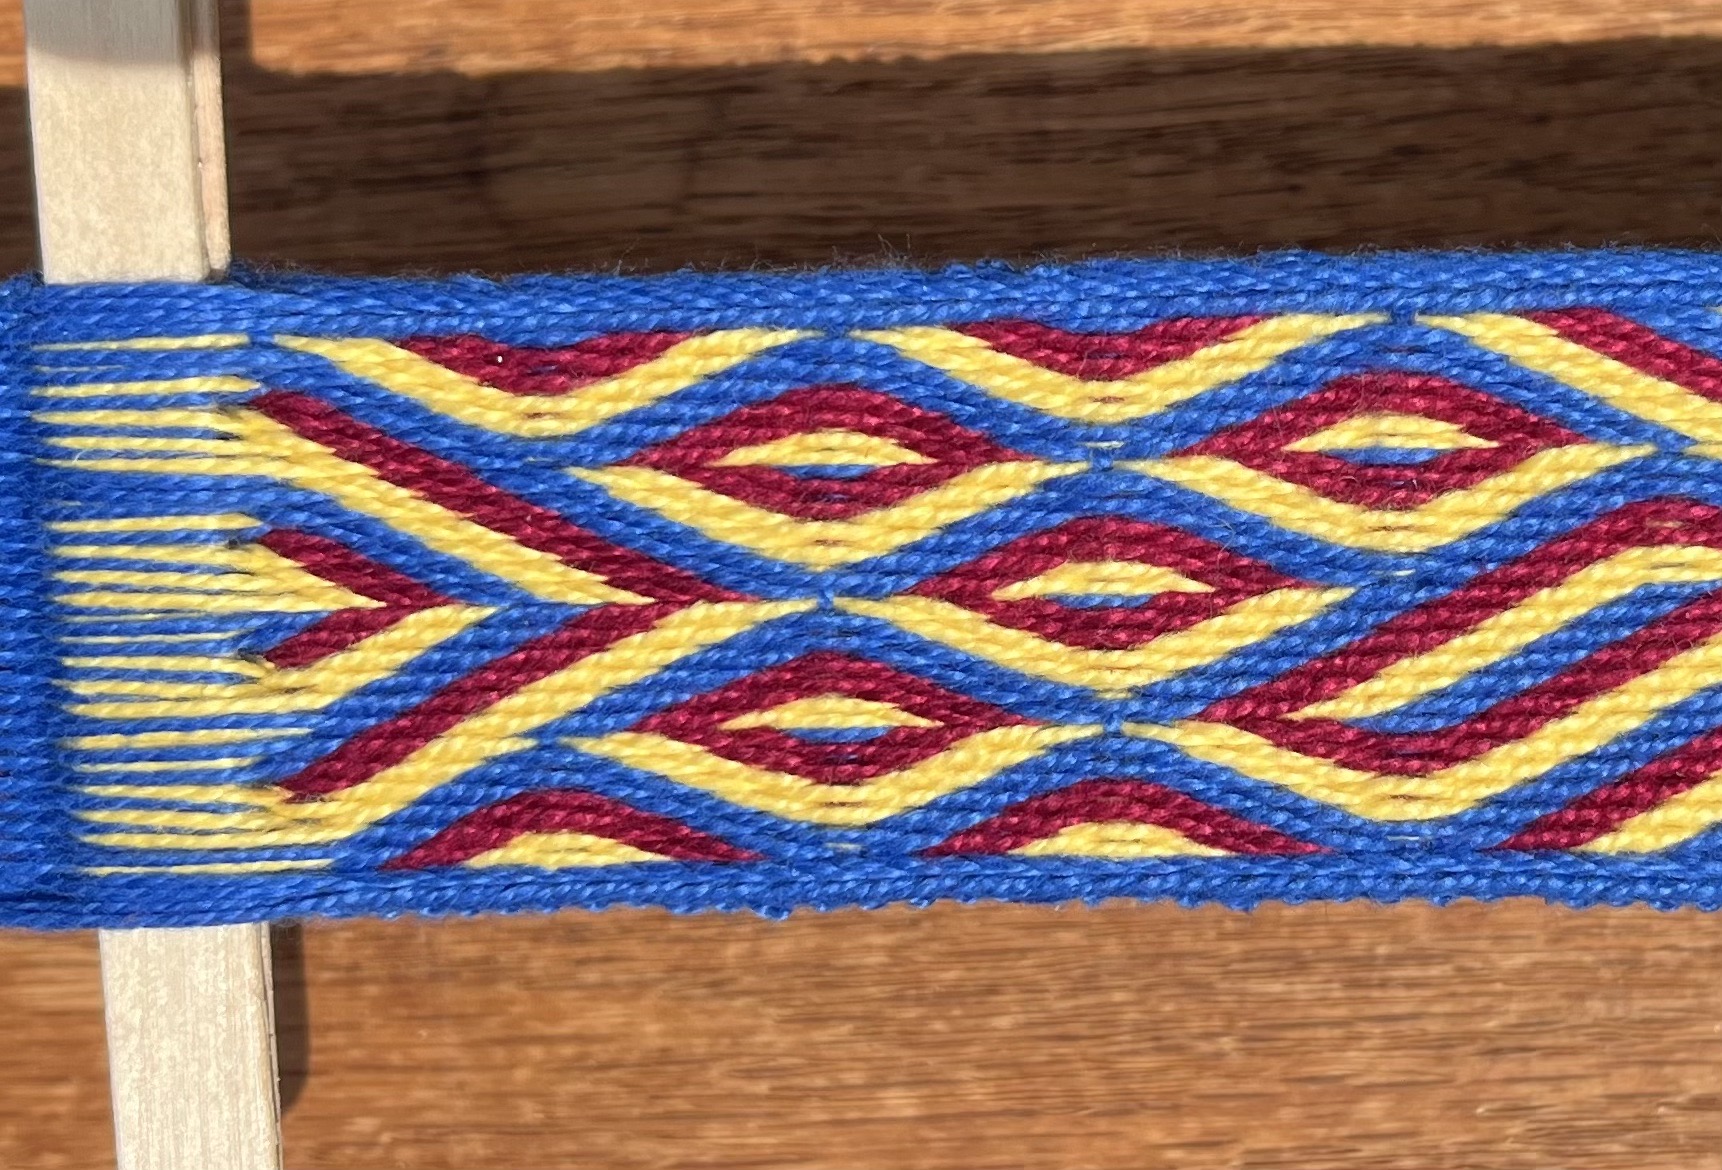
All the setup’s done, and it’s time to weave.


2 responses to “Weaving 101: Heddles”
Sweet! Most excellent.
My dad actually just finished up the inkle loom I asked him to make me, and I tied the heddles for it. I’ve got blisters (because I was yanking them good and tight, around the two posts the pattern for that loom said to as one method of sizing the heddles) on two fingers, but they just look so darn cool (the heddles, not the blisters) holding the under warp down beneath the upper warp. I only have 10 or so somewhat loose wraps of warp on there, as I was demonstrating the shed and heddles ideas/principles to my dad and mom when I picked the loom up, I just quickly threw something on.
Much as I’ve read about that sort of thing, you do an excellent job of explaining/demonstrating/showing it in a way that is very easy to understand, and yet doesn’t skimp on the technical detail. There’s principles here that made a lightbulb go off on other things I’ve read, like the helps (here, using the two pencils) for evening out the warp tension, etc. As well as the continuous heddle.
Thank you SO much for all the work you put in to this!! Do you have any small shuttles/beaters? For now, I’ll be using cardboard shuttle, back of table knife beater, but eventually I’ll grab a shuttle/beater thingie, and I’d love to support your store. My dad is so busy, that he had to squeeze my loom in, and now he’s all ramped up working on a host of Christmas projects, so I didn’t bother him with asking him to make a shuttle; yeah, I know it’s easy, but hey, the little ones are inexpensive enough anyway.
Sara